Installing and configuring Cheyenne
Go to https://www.cheyenne-server.org/download.shtml and download the zip. I chose Cheyenne Pro because it's smaller, but you may get Cheyenne Command if you want some extras.
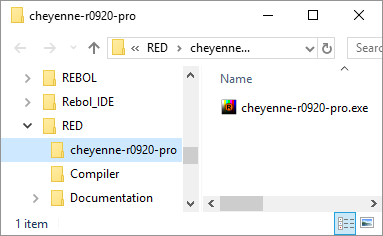
Unzip it anywhere on your computer. I unziped it in a folder named RED, So I got this:
Now create a folder named "www" inside Cheyenne's folder, like this:

Now copy the HTML below to some pure text editor and save it as index.html inside the www folder:
<!DOCTYPE html PUBLIC "-//W3C//DTD HTML 4.01//EN" "http://www.w3.org/TR/html4/strict.dtd">
<html>
<head>
<meta content="text/html; charset=ISO-8859-1"
http-equiv="content-type">
<title></title>
</head>
<body>
<h2 style="text-align: center;">Congratulations! Your
Cheyenne server is working!</h2>
<div style="text-align: center;">Have a nice day!</div>
</body>
</html>
You should have this:

Now double-click on the Cheyenne executable. I had a couple of Windows Defender warnings, I chose more info/run anyway.
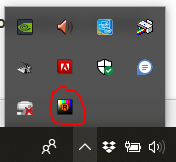
On the task bar, a little Rebol Icon tells me Cheyenne is running:
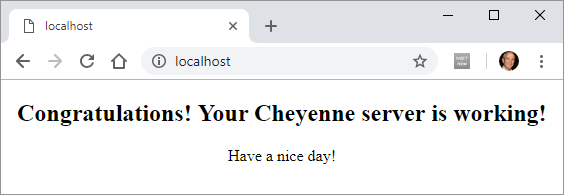
Now open your favorite browser, type "localhost" in the address bar and press enter. You should access the html page you just created:
After this first run, Cheyenne creates a few extra files and folders and it should look like this now:

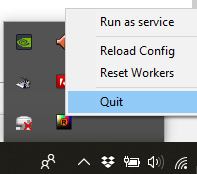
You may quit Cheyenne right-clicking on the taskbar icon and choosing Quit:
Ports are the "channels" of computer communication. By default Cheyenne listens to port 80, but you may want to change that, either to avoid conflicts or to, arguably, add some extra security. A port number is a 16-bit unsigned integer, thus ranging from 0 to 65535, but I suggest you choose a random number around 30000.
By the way, using Cheyenne as described in this text should be secure, unless you explicitly open your ports on your DSL modem and firewall on your PC.
To change the port Cheyenne listens to, for example, 32852, open the httpd.cfg file with any plain text editor, and add the following line:
...
;--- define alternative and/or multiple listen ports (by default, cheyenne will run on 80)
;listen [80 10443]
listen [32852]
bind SSI to [.shtml .shtm]
bind php-fcgi to [.php .php3 .php4]
...
Or may just uncomment the line above that and change the port numbers (Cheyenne may listen to more than one port).
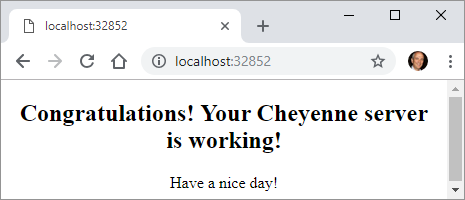
Now you can access your index.html typing in the address bar of your browser localhost:<port number> :
For the record, the common port numbers (avoid them) are:
20: File Transfer Protocol (FTP) Data Transfer
21: File Transfer Protocol (FTP) Command Control
22: Secure Shell (SSH) Secure Login
23: Telnet remote login service, unencrypted text messages
25: Simple Mail Transfer Protocol (SMTP) E-mail routing
53: Domain Name System (DNS) service
80: Hypertext Transfer Protocol (HTTP) used in the World Wide Web - Cheyenne default
110: Post Office Protocol (POP3)
119: Network News Transfer Protocol (NNTP)
123: Network Time Protocol (NTP)
143: Internet Message Access Protocol (IMAP) Management of digital mail
161: Simple Network Management Protocol (SNMP)
194: Internet Relay Chat (IRC)
443: HTTP Secure (HTTPS) HTTP over TLS/SSL
If you were to remove all commented lines from httpd.cfg file (don't do it), you would get the text below, which I think is a self-explanatory simple configuration:
modules [
userdir
internal
extapp
static
upload
action
fastcgi
rsp
ssi
alias
socket
]
globals [
bind SSI to [.shtml .shtm]
bind php-fcgi to [.php .php3 .php4]
bind-extern CGI to [.cgi]
bind-extern RSP to [.j .rsp .r]
]
default [
root-dir %www/
default [%index.html %index.rsp %index.php]
on-status-code [
404 "/custom404.html"
]
socket-app "/ws.rsp" ws-test-app
socket-app "/chat.rsp" chat
webapp [
virtual-root "/testapp"
root-dir %www/testapp/
auth "/testapp/login.rsp"
]
]